eLearning at the CTL
Upcoming Events
All | Faculty | Grad Students
Contact
Centre for Teaching and Learning
Weldon Library (WL), Room 200
(519) 661-2111 x80346
ctl@uwo.ca
Creating an Intelligent Agent
You can set an intelligent agent to send an email to alert students for a number of situations. For example, an approaching due date, if they haven’t logged into the course for a period of time, or if they missed a deadline.
How to Create an Intelligent Agent
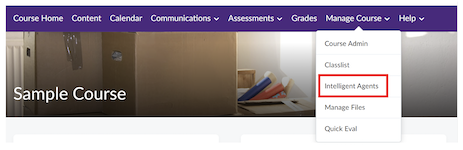
1. On the navigation menu select Manage Course and click on Intelligent Agents.
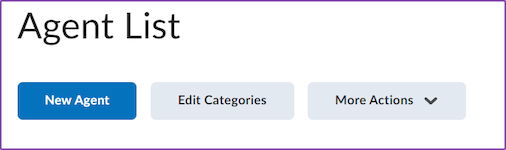
2. Under Agent List, click New Agent.
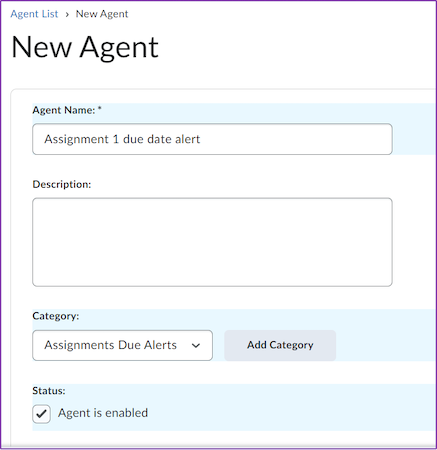
3. Name the Agent, Add Category, if needed (e.g., Participation, Due date reminders) and check status “Agent is enabled” as shown in the example below:
4. Under Scheduling, specify Frequency of the Intelligent Agent running.
5. Under Criteria, indicate Role in the Classlist – i.e., which users the Intelligent Agents will be sent to, when/ given what activity the Intelligent Agent will be activated and any Release Conditions.
6. Under Actions, specify repetition setting and check if email should be sent when the criteria are satisfied.
7. Click Save and Close.
Watch his video for a demonstration of the above steps: https://www.youtube.com/watch?v=ZIcq0s1NdmY
There are many things you should consider when setting up agents for your course to get the most benefit from using the tool. Agents are most useful when you have carefully considered how you are organizing and presenting them in a course.
Some best practices include: -Use a standard naming convention to keep the order and purpose of each agent clear - Use the agent's Description area to collect reminder notes of what you need to adjust in the agent for each offering - Determine if your agent would benefit from repetition - Use Replace Strings to personalize emails and minimize editing - Avoid overusing agents, especially if you can get the information to learners another way
Example of an Intelligent Agent:
Agent Name: Assignment Due Date Reminder
Scheduling Frequency: One-time run
Criteria: Users with specific roles - Learner
Actions
1. Take action only the first time the agent’s criteria are satisfied for a user. 2. Send an email when the criteria are satisfied.
2. Now select the Attendance Registers tab to create a registry for attendance. Select New Register.
For example:
To: {InitiatingUser}
Subject: {OrgUnitName} Assignment 1 Due on DATE
Message: Hello {InitiativeUserFirstName}, This is a friendly reminder that assignment 1 in {OrgUnitName} is due on DATE.
Please make sure to complete the assignment by the due date. Let me know if there are any questions or issues I can help with!
Best,
Instructor Name